Curl set proxy server
Curl is a command-line tool for transferring data between a local computer and a remote server

Curl is a command-line tool for transferring data between a local computer and a remote server.
When using curl you can download or upload data using protocols such as HTTP, HTTPS, SCP , SFTP and FTP .
The Curl command is pre-installed on most Linux distributions. To check if your Linux distribution has Curl installed, press the shortcut key CTRL+ALT+Tto open Terminal, type curl and press Enter.
If curl is installed, the system will print curl: try 'curl --help' or 'curl --manual' for more information.
Install Curl
Otherwise, the terminal prints the message curl command not found. If you don't have Curl installed, you can install it using your distribution's package manager.
If your computer is running a Debian-based Linux distribution such as Ubuntu, Linux Mint, etc. Please run sudo apt install curl to install Curl.
If your computer is running a Redhat-based Linux distribution, such as CentOS, Fedora, etc. Please run sudo yum install curl to install Curl.
sudo yum install curl
sudo apt install curl
Specify/set proxy server
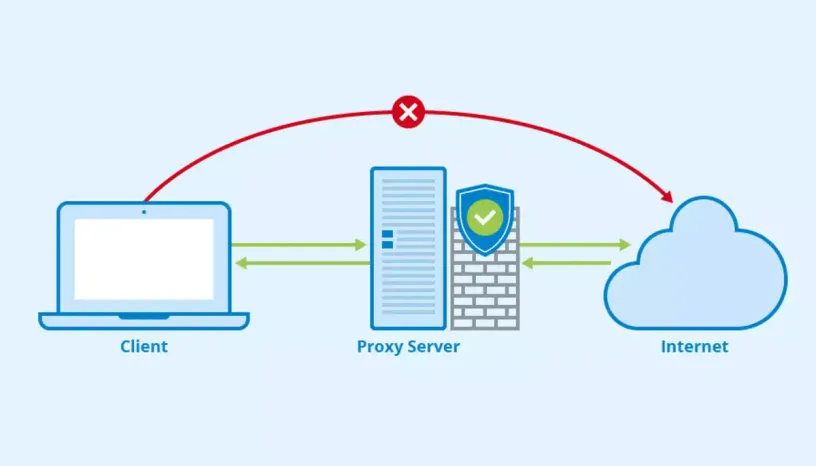
The Curl command supports different types of proxies, including HTTP, HTTPS, and SOCKS.
To transfer data through a specified proxy service, use the Curl command -x / --proxy option followed by the proxy server URL.
If the proxy server requires authentication, use the -U / --proxy-user option of the Curl command followed by the username and password separated by a colon.
Example command curl -x 192.168.44.1:8888 URL to use a proxy server 192.168.44.1:8888.
curl -U username:password -x URL specify the proxy server username and password.
curl -x 192.168.44.1:8888 http://linux.com/

curl -U mark:Passvv0rd -x 192.168.44.1:8888 http://linux.com/


